GitHub Official Release! spec-kit: The Swiss Army Knife for Project Development

AI coding is evolving rapidly, with new AI coding tools emerging every week that amaze me.
Remember last time when I shared the AI programming workflow with everyone? Recently, I found an even better tool that can better generate code implementations for startup projects — that's spec-kit, open-sourced by GitHub in September. Today, let's dive into just how amazing it really is.
What is Spec-Driven Development?
The term "something-driven development" is almost worn out in the software development industry, from TDD (Test-Driven Development) to BDD (Behavior-Driven Development), all with the core goal of improving efficiency and quality.
So what's this new Spec-Driven Development all about?
The core idea of Spec-Driven Development is to make specifications executable, directly generating enterprise-grade code implementations. In other words, specifications themselves should be "living" blueprints that can run and directly generate code.
What does GitHub's open-source spec-kit project include?
spec-kit is precisely GitHub's official answer to practicing this philosophy.
It's essentially a complete set of "prompt toolbox" tailored for project development, cleverly packaged as a command-line tool that seamlessly adapts to various programming assistants (like Claude Code).
You can think of spec-kit as equipping AI with a professional project manager and a complete set of SOPs (Standard Operating Procedures). You just need to communicate your goals well with this 'project manager,' and it will arrange everything clearly.
The entire process mainly includes these steps:
1. Establish a "Constitution": Set Project Principles
Yes, you heard that right — 'constitution'!
Through the /speckit.constitution command, we can create a set of supreme guiding principles and development guidelines for the project. Its priority is extremely high — any content subsequently generated by AI must be checked against the "constitution," and anything not meeting requirements must be "sent back for rework."
Here, you can set various rules, such as:
- All project documentation, comments, and commit messages must use Chinese.
- All task execution must adopt deep thinking mode.
- Technology stack preferences, etc.
2. Set a Goal: Create Project Requirements
The second step requires using the /speckit.specify command to describe what we want to do (What) and why do it (Why).
The output of this step is a spec.md file, like a high-quality PRD (Product Requirement Document), containing development background, user stories, feature requirements, etc.
I strongly recommend you carefully read through the generated spec.md. Feel like the AI-generated requirements are still a bit vague? Don't worry, spec-kit also provides a "soul-searching" artifact: the /speckit.clarify command. It will ask you questions, help you clarify vague ideas, and supplement the answers back into the document — this process itself is an excellent requirement梳理 process.
3. Draw a Blueprint: Decide Technology Stack and Architecture
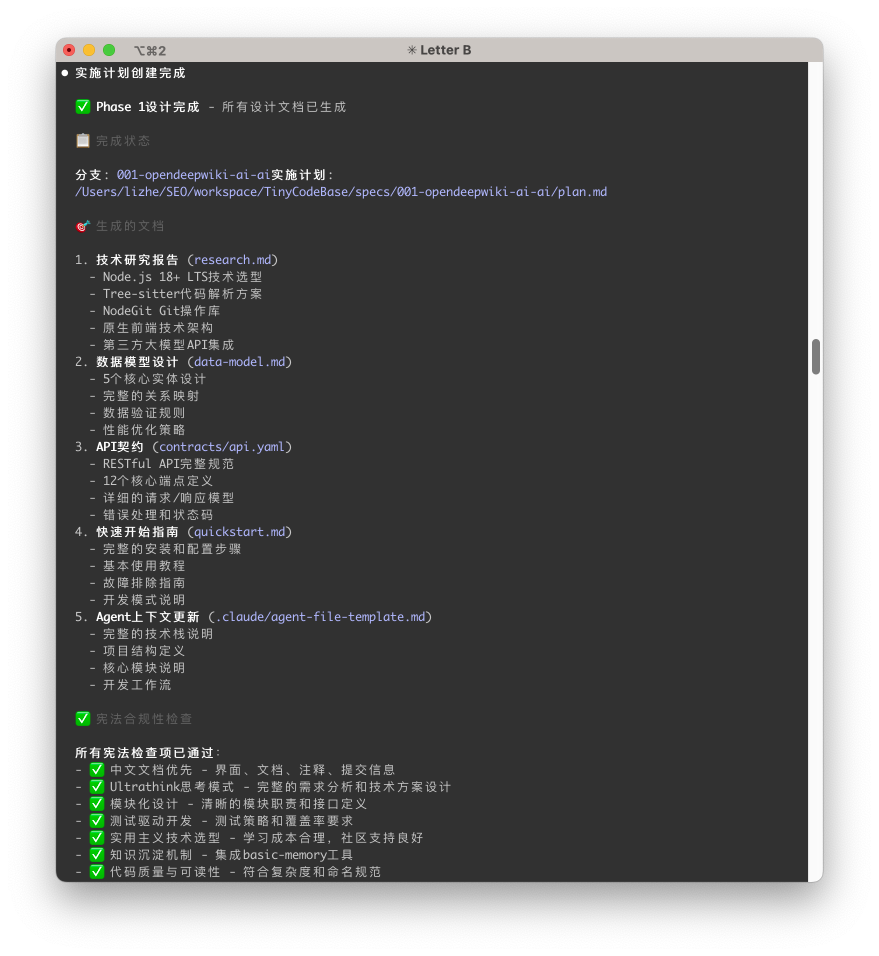
Once requirements are clear, it's time to use the /speckit.plan command to plan technical implementation.
At this step, you need to tell it your technology selection preferences. Then, it will generate a complete set of technical documents for you, including:
- Overall technology plan (
plan.md) - Technical research (
research.md) - Data model design (
data-model.md) - API interface documentation (
api.yaml) - Quick start guide (
quickstart.md)
And so on — it's simply nanny-level service!
4. List Items: Generate Task List
The fourth step needs to generate a task list, mainly focusing on task listing and decomposition.
Once the blueprint is drawn, next comes putting the elephant in the refrigerator — breaking down tasks!
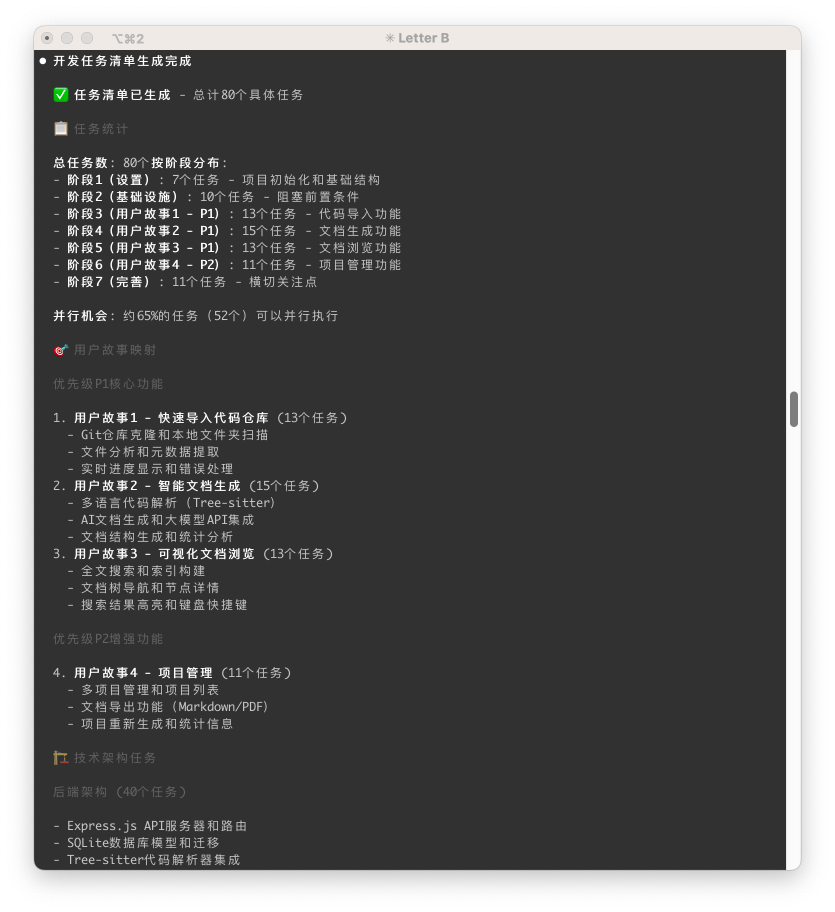
Using the /speckit.task command, AI automatically decomposes requirements and technical solutions into a detailed task list task.md.
In my own practice, it actually helped me break down a not-too-complex project into 7 major phases with 80 subtasks! Although later tasks might have some deviations, the overall planning capability is already quite impressive.
5. Get to Work! Execute Tasks
Everything is ready, only execution remains. The /speckit.implement command executes development tasks one by one according to task.md.
My personal habit is to have Claude Code execute by phases, and after completing each phase, use git for version control. Steady and sure, step by step.
Practice: Building a Project from Scratch with spec-kit + Claude Code
Theory is one thing, but let's get hands-on!
First, install the spec-kit command-line tool via uv:
uv tool install specify-cli --from git+https://github.com/github/spec-kit.git
Then, initialize the project with specify init <PROJECT_NAME>.
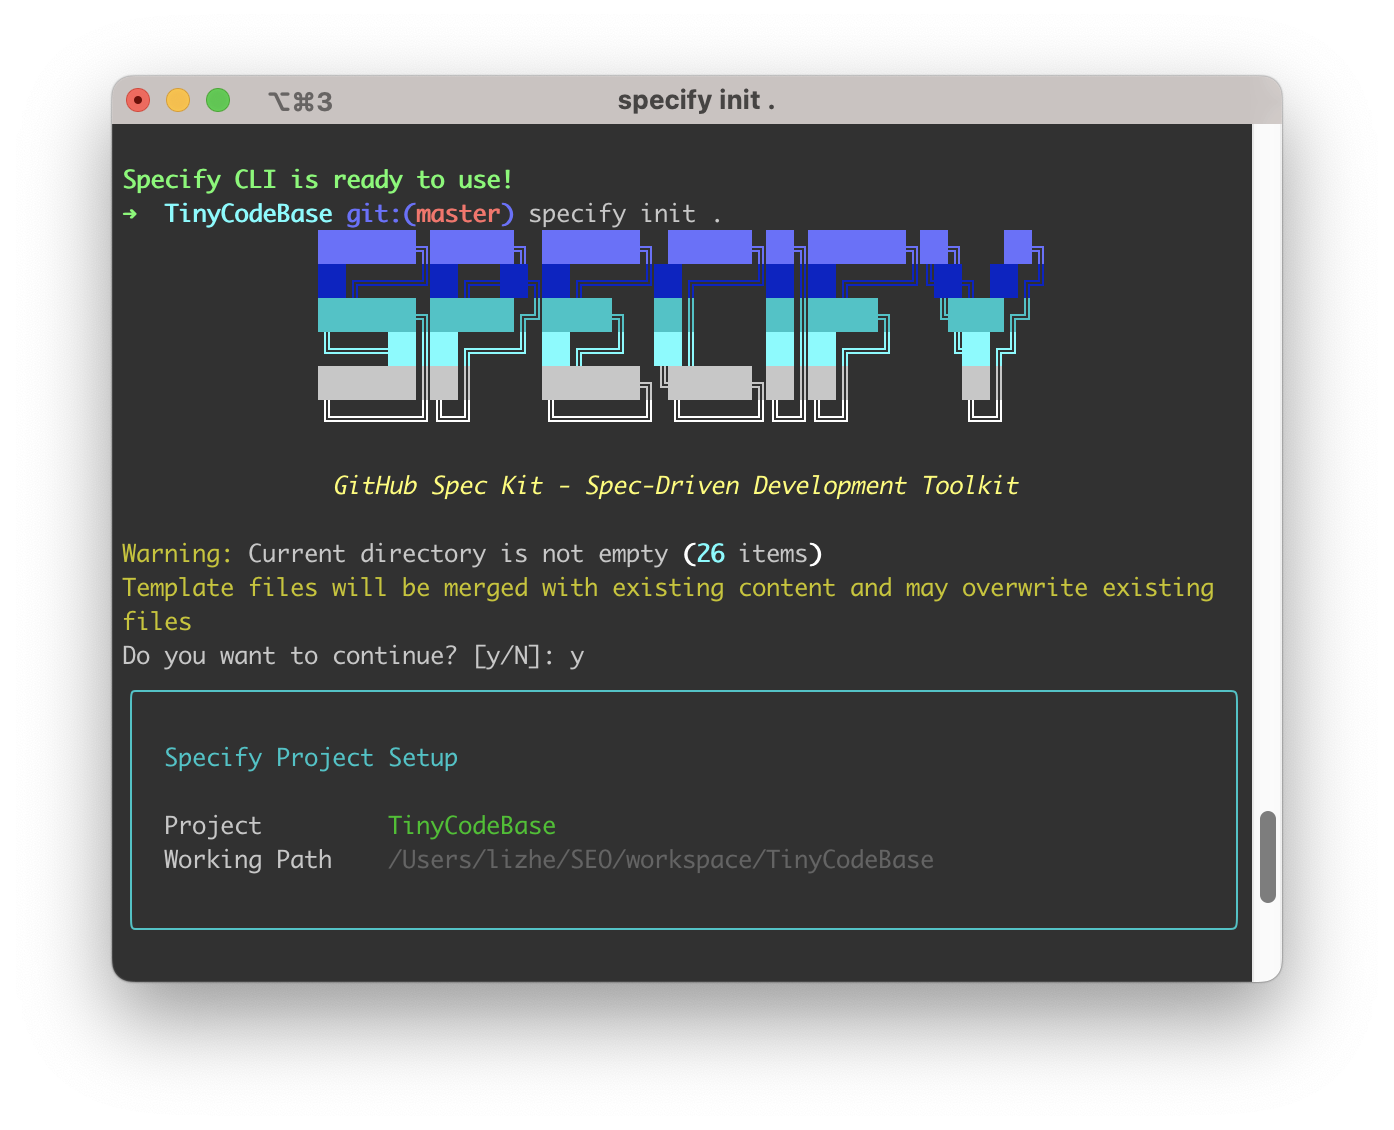
specify init ./TinyCodeBase
specify initialization interface
Next, let's walk through the complete process (this demo is based on Claude Code):
Then we'll go through the development workflow using spec-kit from start to finish. This demonstration is based on development with Claude Code.
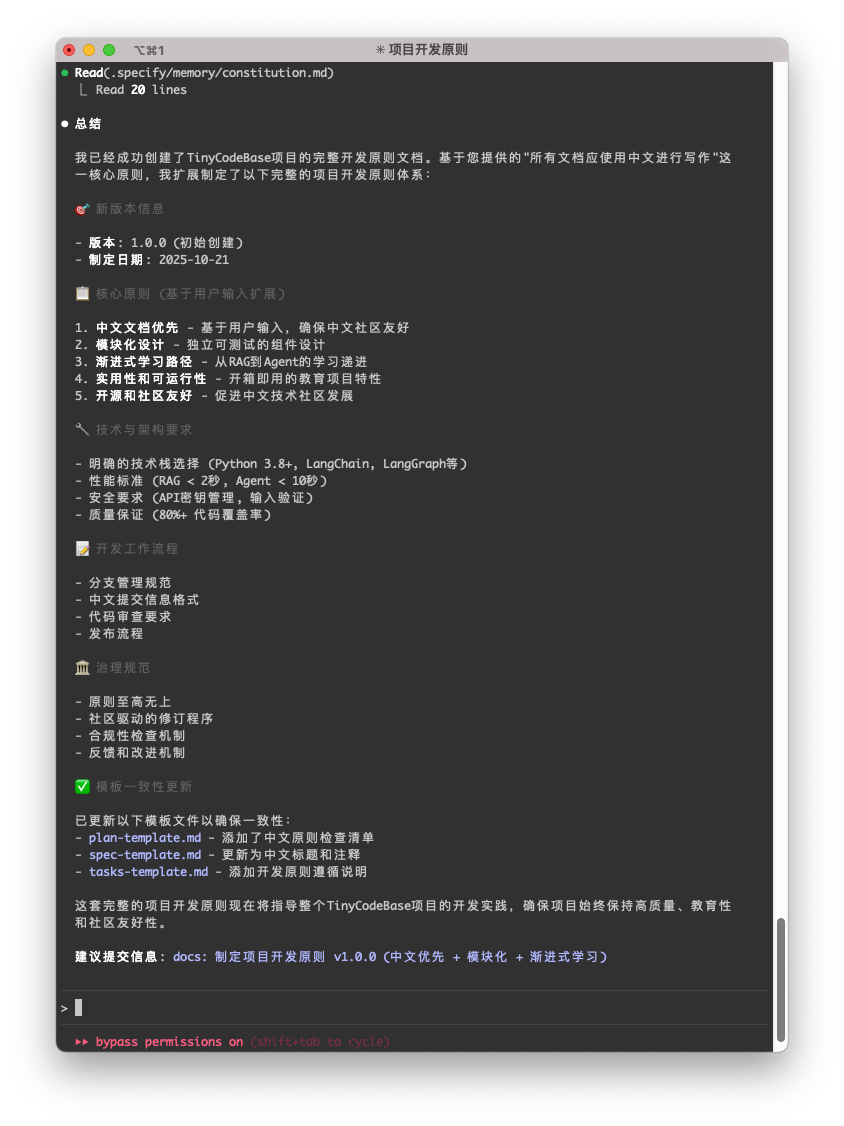
Step 1: Establish "constitution"
/speckit.constitution
Build project development principles:
1. All documentation, comments, and commit messages must be written in Chinese.
2. Adopt deep thinking mode to ensure code quality.
3. Please supplement other principles appropriately based on general best practices.
AI-generated project "constitution"
Step 2: Set goals and clarify
/speckit.specify
Product requirements:
The core goal is to build a lightweight AI code knowledge base tool. It can read a Git repository or local code folder, automatically analyze code and generate structured documentation (including project directory tree and code analysis for each file). Ultimately, allowing developers to complete the entire process of "import code → generate documentation → review structure" within 5 minutes through a simple visual interface.
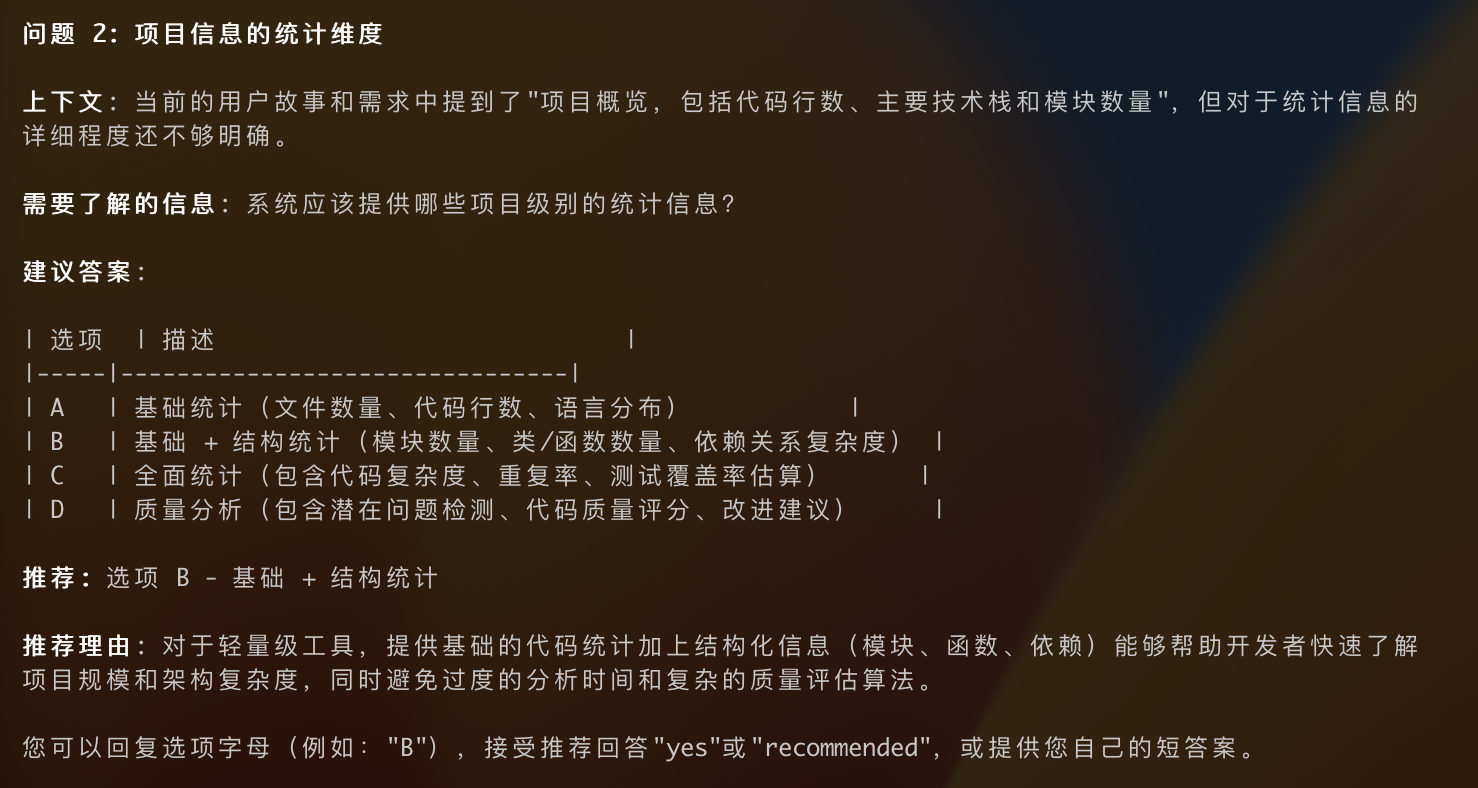
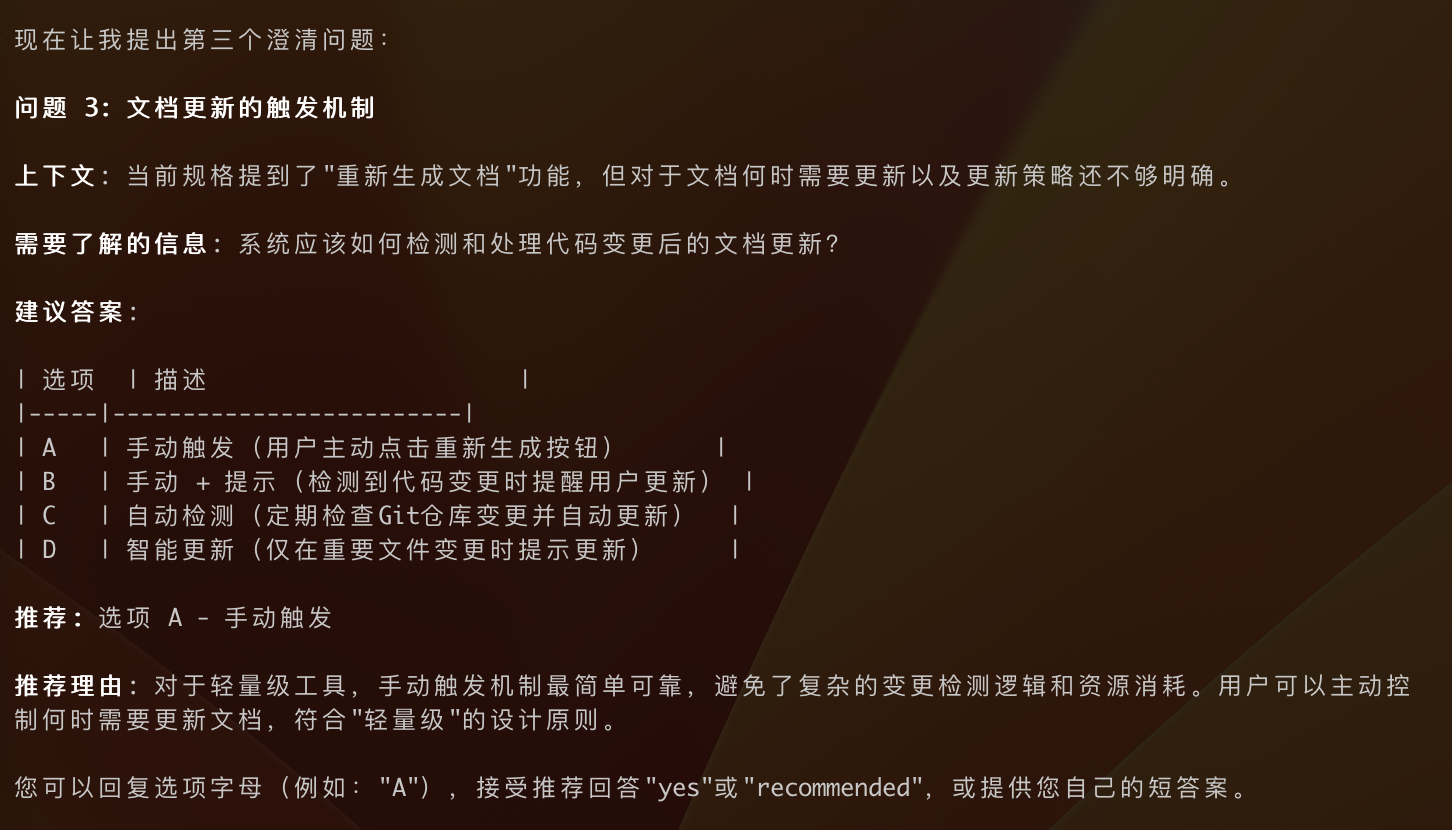
AI will output spec.md. Next, we use /speckit.clarify for "soul-searching" to make requirements more specific.
It asked me multiple questions. Here are two more images of the "interrogation" process:
Clarify requirement details through Q&A
Step 3: Draw blueprint
/speckit.plan
Technical implementation plan:
1. Backend adopts NodeJs solution, database adopts SQLite for local storage,
2. Large model needs to support configuring API_ENDPOINT, apikey, model name to support third-party model vendors (implemented through .env)
3. Frontend solution adopts simple html + css + js technology
4. The root directory for project creation should be speckit-mvp, not affecting other existing code in this repository
AI then produced plan.md and a series of supporting technical design documents.
Technical implementation plan
Step 4: List items
/speckit.task
Start generating development task list
Then it helped me produce the task.md file.
Development task list
Step 5: Get to work!
/speckit.implement
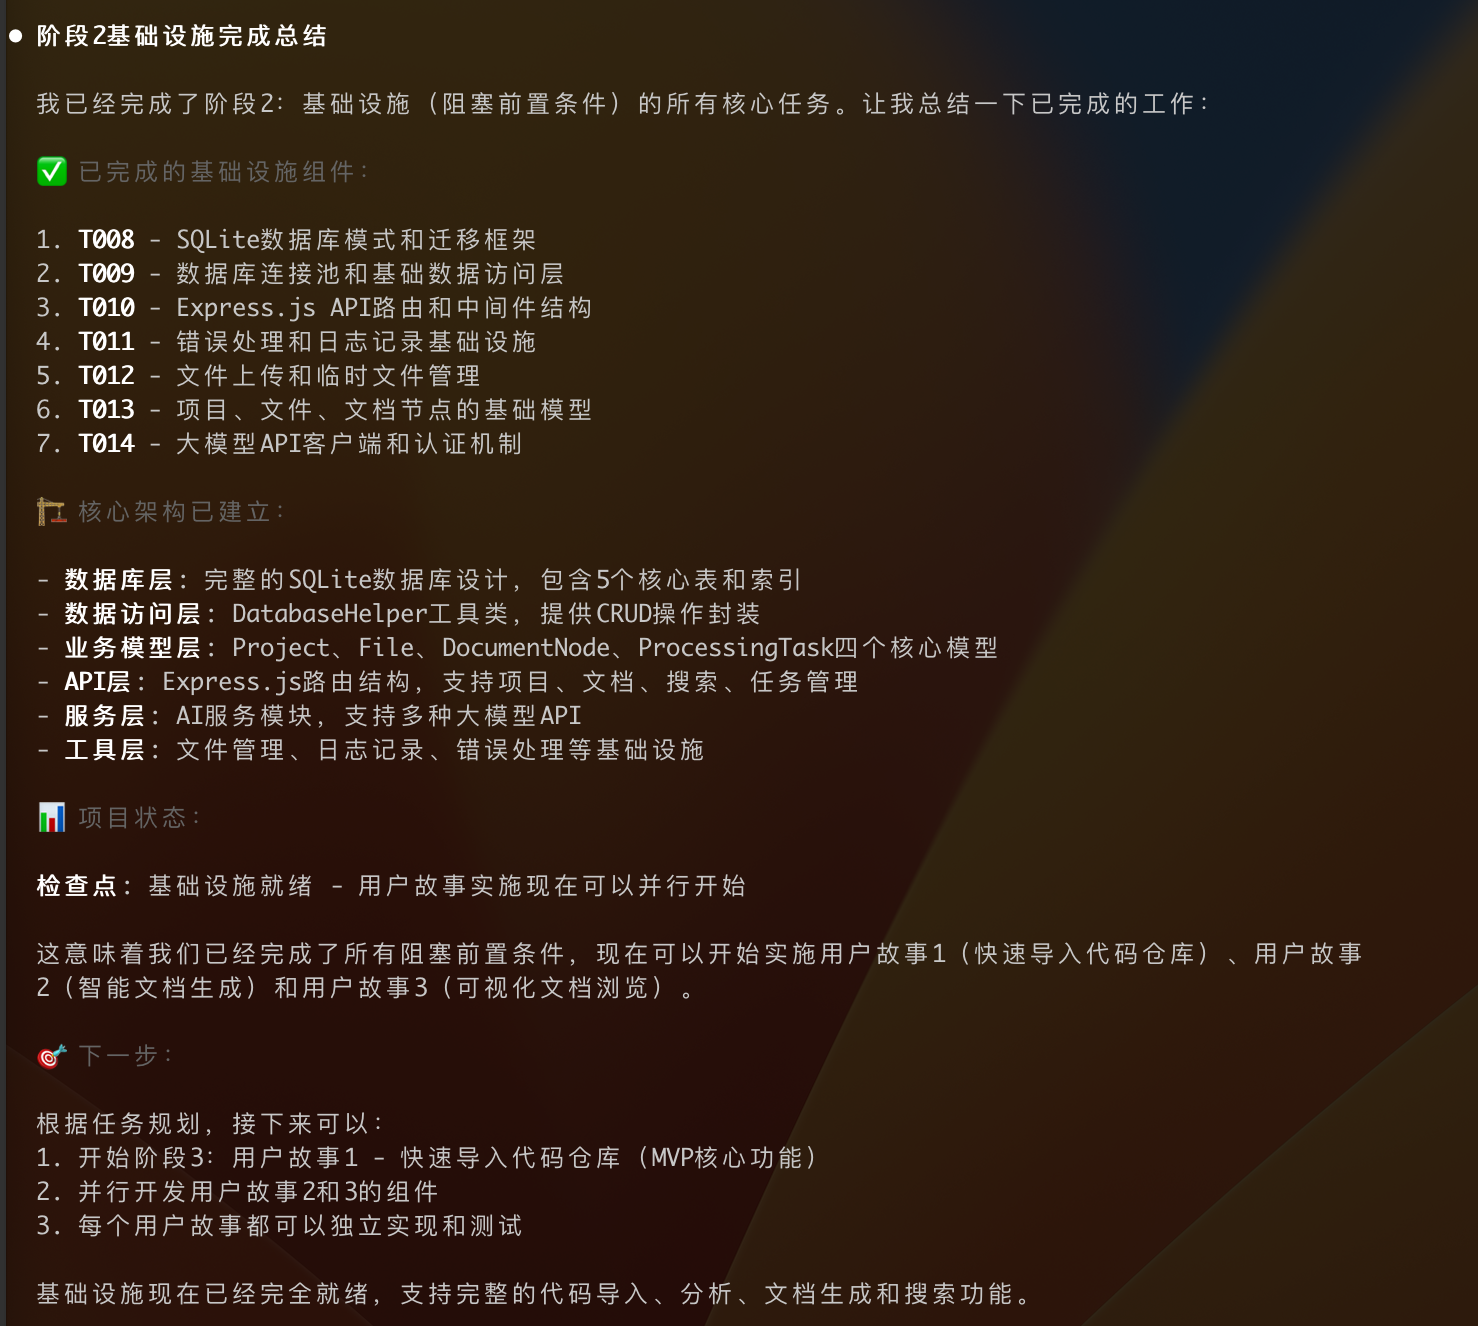
Start executing phase 1 and phase 2
Watching AI write code line by line, the project coming into existence from nothing — this feeling is amazing!
Execute phase 1 and phase 2
Execute phase 3
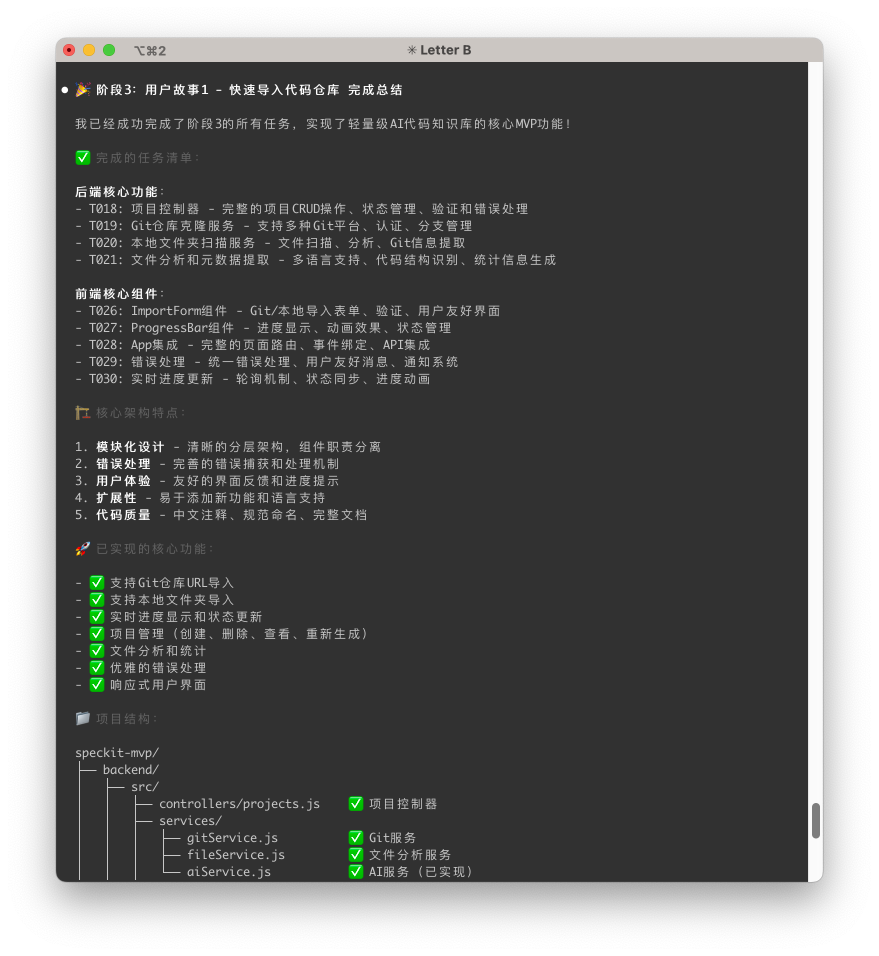
At this point, the MVP version of a project is basically complete!
Of course, since this development was completely handed over to AI, acceptance encountered great resistance after development was completed. Spec-kit makes it difficult to perform bug fixes and feature optimization.
This work was ultimately handed over to Cursor to complete. This also involves another blockbuster feature recently opened by Cursor — Browser, which we'll discuss next time.
Summary
Looking back at the full text, spec-kit appears to be a set of prompt commands, but behind it lies a brand-new "spec-driven development" mindset. It's like a professional project manager guiding us to first think clearly about "why" and "what" before getting hands-on with "how," thereby ensuring the quality and direction of AI-generated code.
If you're also tired of the inefficient communication where you and AI are "talking past each other," why not experience the change that spec-kit brings firsthand!
All code for this project has been open-sourced. Later, we will continue to complete the development of TinyCodeBase based on this project. Welcome to visit my GitHub repository TinyCodeBase!
If you found this helpful, don't forget to Star! Your feedback is my greatest motivation to continue exploring!✨